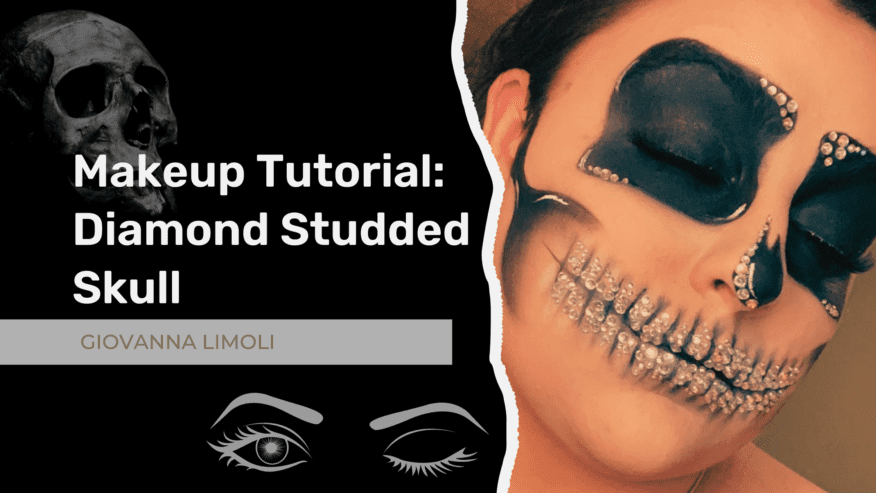
By Giovanna Limoli (she/her/hers)
Step 1: Start off with your base. You can choose to do your normal skin tone or start with a white base. Blend that all the way down your neck, remember to set everything with a translucent or white setting powder!

Step 2: Grab a black face paint (or eyeliner) and start by drawing a rounded square around both of your eyes. Fill that in and set everything with a black eyeshadow.

Step 3: Draw a teardrop shape on your nose, adding another shorter point. Again, set with black eyeshadow.

Step 4: Here comes the hard part. You’re going to make a line down the middle of your lips, from the top of your cupid’s bow to the upper part of your chin. This will be the center point for your teeth. From there, keep adding lines about half of an inch apart. Stop when they are about halfway down your cheek, or until they are parallel to the outer corners of your eyes. Draw a horizontal line from each end to create the top and bottom rows of teeth. With an angled brush, again, set with black eyeshadow.
With that same black eyeshadow, add a tiny V shape to the upper part of those lines, and an upside-down V to the bottom. This will start to give the teeth some shape. Fill in the V about halfway and then blend up as best you can for a gradient effect

Step 5: Clean everything up with a flat brush and some white cream face paint Set that with your translucent or white powder.

Step 6: Time to add the cheekbones. Press your fingers around your cheeks and find your cheekbone. From the Bottom on your cheekbone, draw a line swooping down just a little, then make your way back up and make an arch. Mirror the same process on the bottom and then to the other side of your face. The lines should stop around the same area as the teeth.

Step 7: Fill in about half of that with black and then blend out, creating a kind of C-shape. You guessed it, set with black eyeshadow.
You can also add semi-circles in your temple area, but that’s optional. (You probably already know this, but I’ll say it until I’m blue in the face — don’t forget to set with black eyeshadow!!!)

Step 8: TIME FOR BLING
You can use any size or color rhinestones and start to fill in the teeth, the nose, and around the perimeter of your eyes. You can either use “spirit gum” (a strong makeup adhesive) or you can just use eyelash glue. Neither with harm nor burn your skin. Do one tooth at a time, filling it in with your adhesive and placing your rhinestones carefully, either with a pair of tweezers or a diamond picker. You can have fun with this part, put the rhinestones wherever your heart desires.
Add some lashes and some highlights and you’re all done!
Don’t forget to have some fun with it. Creativity is key! Add some color, some flowers, blood (if you want to get a spookier look), or more rhinestones, there’s no such thing as too many!

Products used:
Foundation: Lo’Real Infallible Fresh Wear Foundation
Setting Powder: Laura Mercier Translucent Loose Setting Powder
Black and White face paint: Mehron CremeBlend Stick
Black eyeliner: NYX Epic Wear Waterproof Eyeliner
Black eyeshadow: Morphe x James Charles Palette
Adhesive: Mehron Spirit Gum
Faux Lashes: Kiss Lash Drip in style You Dew You
Eyelash Glue: Duo Brush-on Striplash Adhesive